API
An API, or Application Programming Interface, is just an interface that defines the ways that scripts or programs can communicate with an application or service.
Testers are used to thinking about the UI when they think about software, but APIs are also interfaces that need testing. Because they are programming interfaces, we do need the help of tools in order to test them effectively.
For API testing we need to specify an endpoint that we want to use. Endpoints define some kind of resource on a server that we want information about. We also need to define an HTTP method. These methods are things like GET, POST, PUT, DELETE, etc. and they tell the server whether we are trying to retrieve information or what kinds of modifications we would like the application to do.
There are many tools that can help with API testing.
What is Postman?
Postman has become the most popular API testing tool, as it is free, packed with powerful testing features, and is also quite intuitive to use and get started with.
API testing is a critical function for most modern web and mobile applications. API testing is becoming a requirement for the internal parts of all applications as well. Even when a UI is available, API tests often execute more quickly, break less frequently, and allow for more flexibility in a microservices environment.
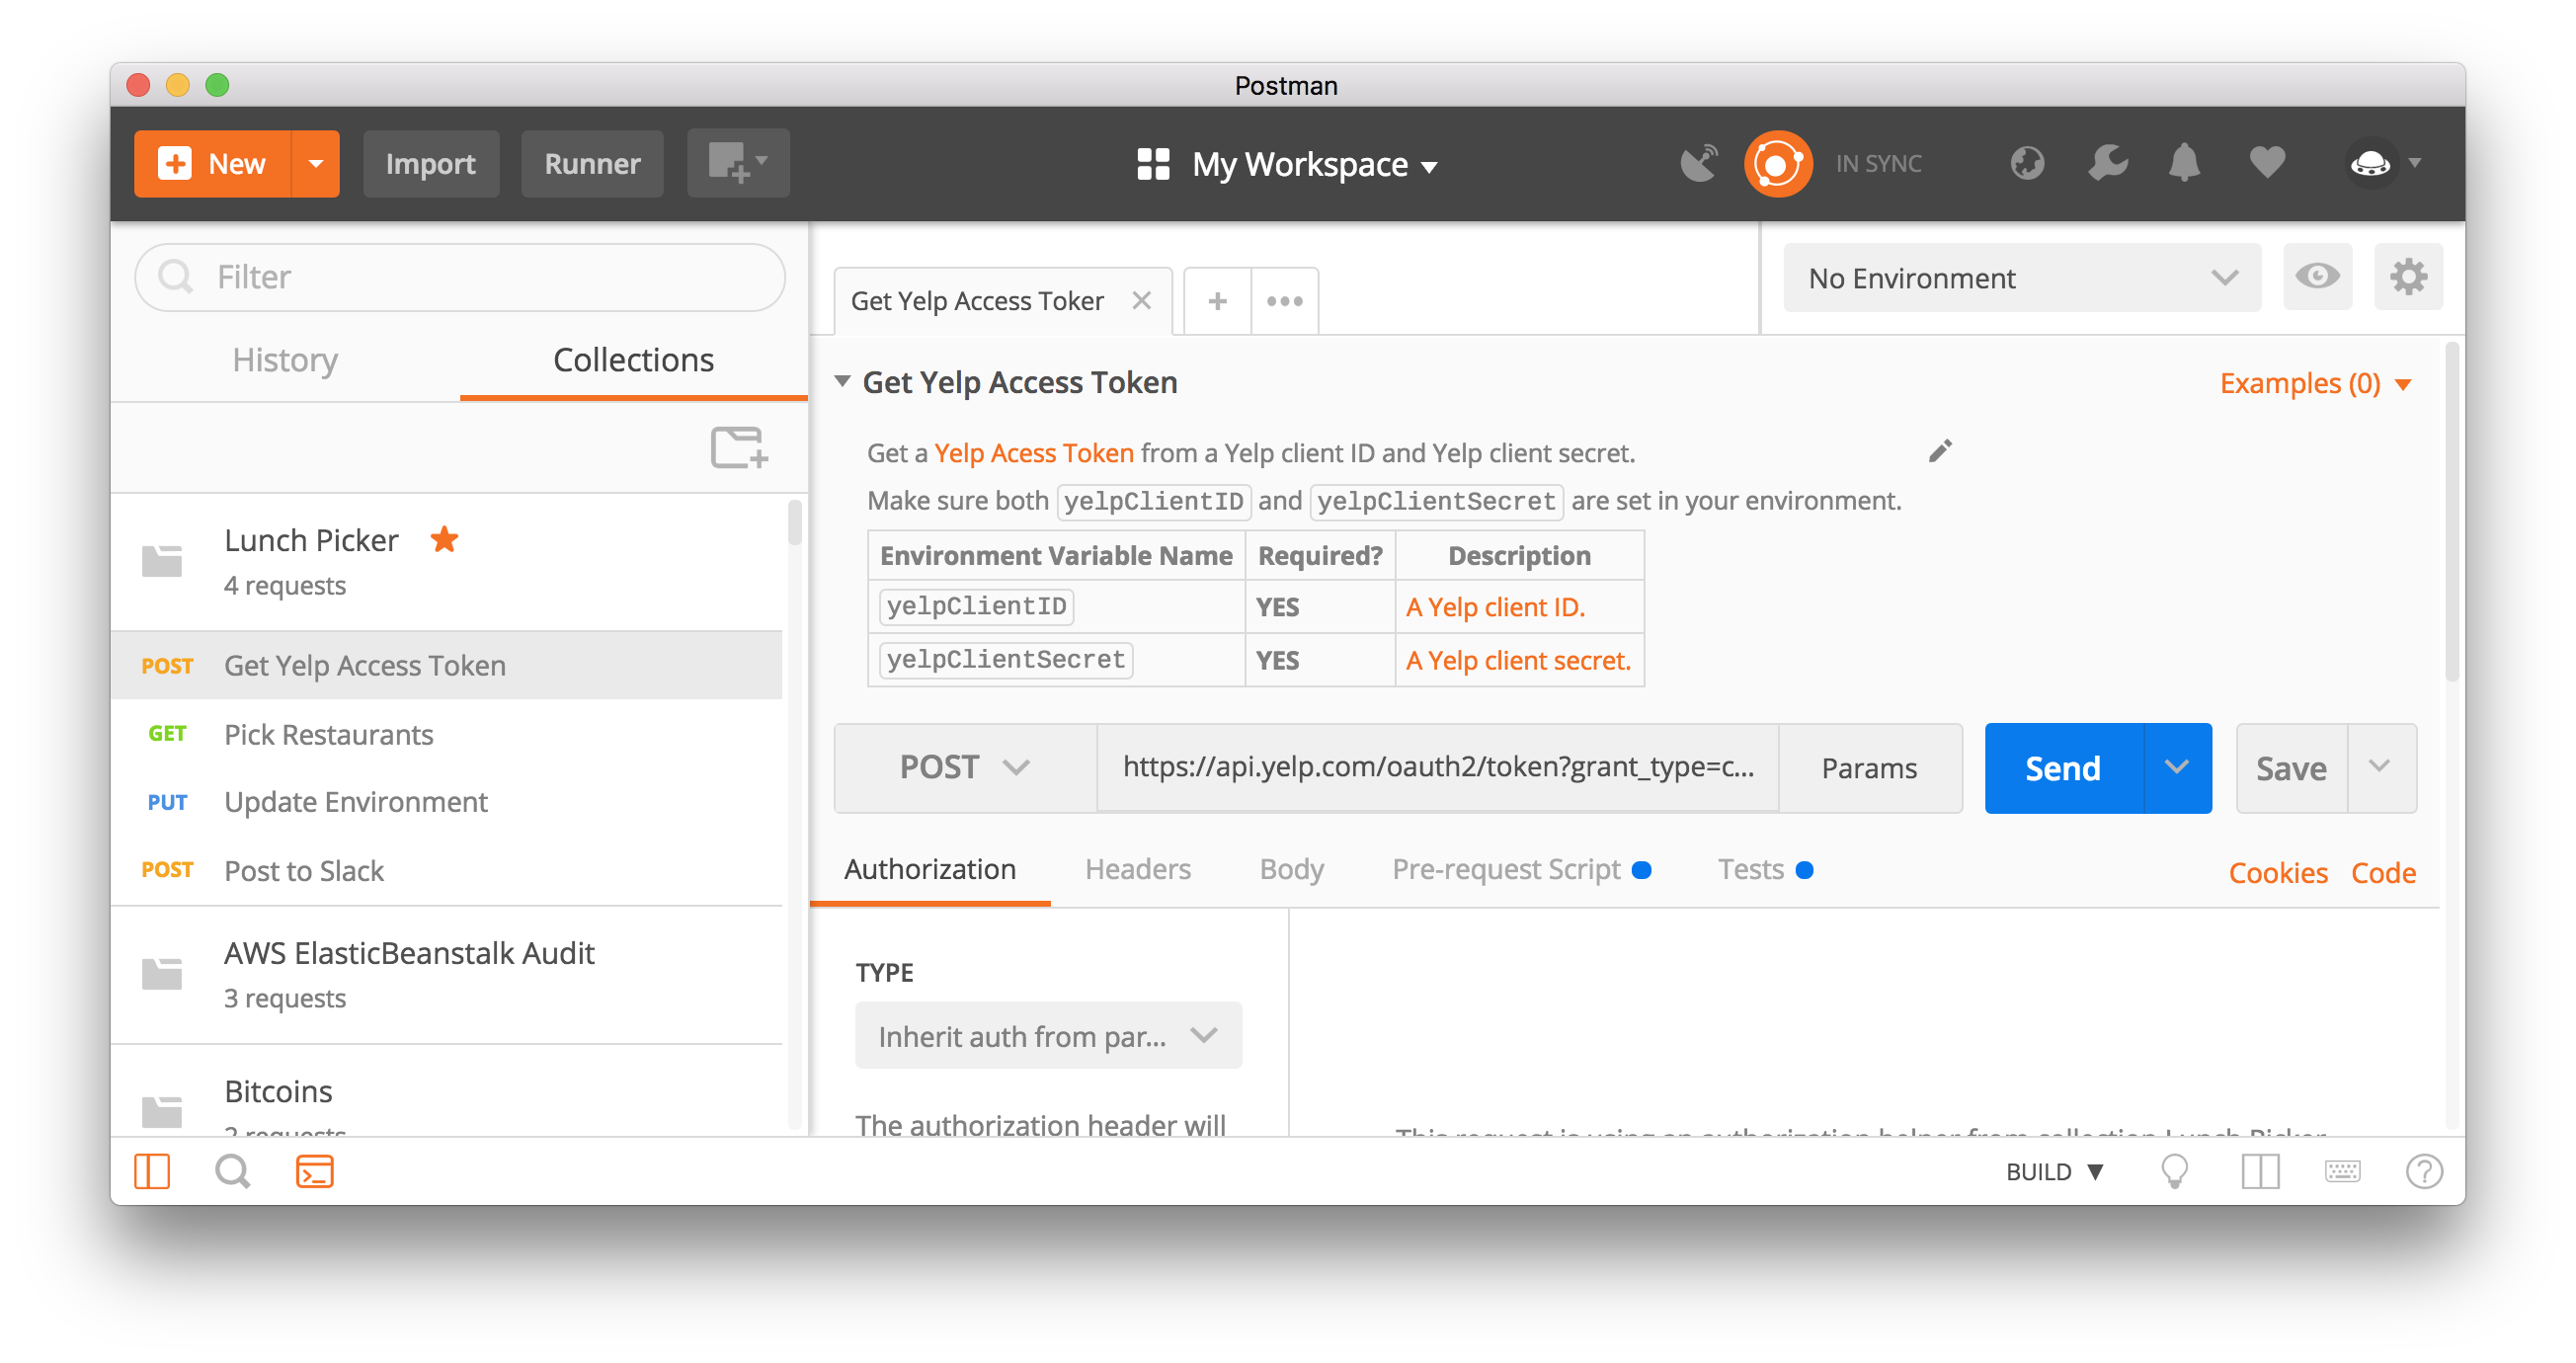
Postman provides you with a number of building blocks that you can use for various kinds of API testing. Click on the New button at the top left-hand side of Postman to see the various building blocks available.
Ex: Request, Collections, workspace, environments, etc..
Organizational features in Postman
Postman offers three tools for organizing requests into a hierarchy:
Workspaces
These are at the root of the organizational hierarchy of postmen. It allows you to organize and collaborate on API projects with your team. Within each workspace, you can share APIs, collections, environments, and other components of your work in Postman.
Collections
Collections are available inside a workspace. They contain a group of saved requests those can be executed, hold variables as well as pre and post-request scripts.
Folder
Folders are available inside the collection. They contain a group of saved requests those can be organized into folders and can also have their own pre/post-request scripts.
Best Practices -
1. Hierarchy Structure :
As we have different versions i.e V1 and V2 set of endpoint, we should arrange the folders with version names inside the featured collection as follows :
2. Documents :
An appropriate description should be provided for each collection, folder & request.
It should explain the particulars of the endpoint – what it is when to use it, and why you would want to use it. Style your descriptions and embed screenshots using markdown to help people who are skimming through the documentation. – what it is when to use it, and why you would want to use it. Style your descriptions and embed screenshots using markdown to help people who are skimming through the documentation.
Each parameter/variable description should be added in the various data editors within the Postman app. The description should contain the Description, Datatype & date format for data/timestamp variables also should provide the details for enum values for variables with enum datatype.
The description fields that you’d normally use for your API documentation can be repurposed as test descriptions. It’s a great way to document your tests, so developers and testers know what’s being tested, what the expected output is, etc.
At least 2 examples should be provided for each request.
Ex :
3. Use of Variables :
As a team, we should follow a unique naming convention ie. Camelcase for all variables defined in postman.
Use variables instead of hardcoded values where ever possible.
Should maintain Collection level instead of Environment variables wherever needed, so that they won't affect other collections on the workspace
Pass params as “:var” in URL instead of passing values directly.
4. Environment :
All variable's names should be the same in all Environments though the value could be different based on the environment.
Make sure the collection/request should run successfully in all environments without doing any changes.
5. Scripting in Postman
Postman allows you to write test suites, build requests that can contain dynamic parameters, pass data between requests, and a lot more. You can add JavaScript code to execute during 2 events in the flow:
Before a request is sent to the server, as a pre-request script under the Pre-request Script tab.
After a response is received, as a test script under the Tests tab.
You can add pre-request and test scripts to a collection, a folder, a request within a collection, or a request not saved to a collection.
a. Pre-request scripting should be used as follows:
You have a series of requests in a collection and are running them in a sequence, e.g. using the collection runner.
The second request is dependent on a value returned from the first request.
The value needs to be processed before you pass it to the second request.
The first request sets the data value from a response field to a variable in its Tests script.
The second request retrieves the value and processes it in its Pre-request Script, then sets the processed value to a variable (which is referenced in the second request, e.g. in its parameters).
Re-using pre-request scripts on collections
You can add pre-request scripts to entire collections as well as to folders within collections. In both cases, your pre-request script will run before every request in the collection or folder. This allows you to define commonly used pre-processing or debugging steps you need to execute for multiple requests.
b. Testing :
Test scripts can use dynamic variables, carry out test assertions on response data, and pass data between requests. In the Tests tab for a request, you can enter your JavaScript manually or use the Snippets you'll see to the right of the code editor.
Tests will execute after the response is received, so when you click Send, Postman will run your test script when the response data returns from the API.
The tab header displays how many tests passed and how many ran in total. You can also toggle between passed, skipped, and failed test results.
If the request returned a 200 status code, the test will pass—otherwise, it will fail. Try changing the expected status code in your test script and running the request again.
Using the pm.expect syntax gives your test result messages a different format.
Testing simple things, like HTTP status codes, response times, and headers can each be done in a single line of code, like this:
tests["Status code is 200"] = responseCode.code === 200;
tests["Response time is acceptable"] = responseTime < 200; // milliseconds
tests["Content-Type header is set"] = postman.getResponseHeader("Content-Type");
6. Reuse code
We can also reuse JavaScript code by leveraging the eval() function.
Most APIs have some common rules that apply to most (or all) endpoints. Certain HTTP headers should always be set, or the response body should always be in a certain format, or the response time must always be within an acceptable limit. Rather than re-writing these tests for every request, you can write them once in the very first request of your collection and reuse them in every request after that.
There’s no limit to the amount of code that can be stored in a variable and reused this way.
Write Scripts on collections and folders
You can add test scripts to a collection, a folder, or a single request within a collection. A test script associated with a collection will run after every request in the collection. A test script associated with a folder will run after every request in the folder. This allows you to reuse commonly executed tests after every request.
Tips :
You can save commonly used headers together in a header preset. In the Headers tab, click the Presets drop-down, and choose Manage Presets. Add each preset by providing a name, and entering the key plus value. Click Add and your preset will be available in the Presets drop-down. Selecting the preset will auto-populate the fields in your request headers.
7. JSON Schema validation
Many modern APIs use some form of JSON Schema to define the structure of their requests and responses. Postman includes the tv4 library, which makes it easy to write tests to verify that your API responses comply with your JSON Schema definitions.
Of course, you probably wouldn’t want to hard code your JSON Schema in your test script, especially since you may need to use the same schema for many requests in your collection. So, instead, you could store the schema as a JSON string in a Postman environment variable. Then you can simply use the variable in your test script.
8. Sharing and persisting data
When you edit global, collection, and environment variables in Postman, you will see Current Value, Persist, and Reset options for individual variables and for all variables.
These allow you to control what happens within your local instance of Postman, independently of how the data is synced with anyone sharing your workspace, requests, collections, and environments.
Your local session in Postman can use values that are transient and only visible to you. This lets you develop and test using private credentials or experimental values, without risk of exposing these details or affecting others on your team.
When you create or edit a variable, you can enter both an initial and a current value. When you create a new variable in the UI, if you leave the current value empty, it will auto-fill with the initial value. If you specify a current value, it will be local only to your instance—the Persist option lets you push your current value to the shared data, updating the initial value to match the current value.
Using Persist will make your current value sync with Postman's servers and be reflected for anyone sharing your collection or environment. To reset your current local values to reflect the initial (shared) values, use Reset.
You can edit a current value inline from the environment quick look:
Local and data variables only have current values, which do not persist beyond request or collection runs.
9. Using the Collection Runner
The Collection Runner allows you to run sets of requests in a specified sequence. The Collection Runner will log your request test results, and your scripts can pass data between requests as well as altering the request workflow.
Collections should run successfully when different environments get selected. It should be independent of the environment.
Collections should run successfully independent of any external inputs.
Use/Set collection level variables to run the next request of the collections.
Building request workflows [Branching and looping]
When you start a collection run, all requests are run in the order you see them in Postman.
However, you can override this behavior using a built-in function called postman.setNextRequest(). This function, as the name suggests, allows you to specify which request runs next.
Set the request to be executed next
postman.setNextRequest("request_name");
console.log(pm.info.requestId); console.log(pm.info.requestName);
Loop over the current request
Providing the name of the current run to setNextRequest leads to Postman running the current request continuously.
TIPs: While looping over one request continuously, one should wrap setNextRequest in some logic so as to ensure that the request does not run indefinitely otherwise the collection runner would need to be force closed.
Stop workflow execution
postman.setNextRequest(null);
10. Scheduling collection runs with monitors
In addition to using the Collection Runner in Postman, you can use collection runs in conjunction with other utilities in order to build automation into your API projects.
The Postman command-line interface Newman enables you to run collections and build them into your development pipeline, responding to test outcomes to maintain your API performance.
Adding a monitor to your collection lets you schedule collection runs and stay informed of any issues.
Ex : newman run https://www.getpostman.com/collections/ae157cc4d20e000b09be -e ~/Public/LocalhostEnv.postman_environment.json
You can automate collection runs using monitors to schedule runs and receive reports on your request test results.
11. Integrating with Postman
Backing up collections on Bitbucket
You can back up your Postman Collections to your Bitbucket repository. Once the integration is configured, any new changes to your collection in Postman will also appear in Bitbucket.
Configuring a Bitbucket integration
To add a Bitbucket integration, navigate to the Postman Integrations page. Search for Bitbucket and select it from the results.
Select Add Integration.
Enter your Bitbucket authentication and select Authenticate and Proceed.
App passwords are different from account passwords. Learn how to create an app password in Bitbucket.
Select your collection to back up, the repository you'd like to back it up to, and designate the directory, filename, and branch. Click Add Integration.
Your new integration will now appear in a list along with previously created integrations.
To confirm this integration, navigate to your Bitbucket dashboard > Repositories. Select your repository > Commits.
You can select a commit to view your stored collection in JSON format.
12. Using version control
You can use version control with your Postman Collections by forking and merging and utilizing a standard pull request process. Version control allows you to collaborate with teammates by working on different forks of the same collection, updating forks from the parent collection, and merging changes when you're ready. You can tag collaborators to review pull requests and resolve conflicts to manage collection versions.
Postman API Platform | plans & pricing
 Version control overview | Postman Learning Center
Creating pull requests
You can merge changes from a collection fork (the source) into the parent (the destination) using a pull request process, by tagging reviewers who can comment on your changes and decide to merge them. In Postman, open the menu for a collection and select Create Pull Request.
Pull request settings are available on Postman Business and Enterprise plans in the Manage Roles section of a collection.
13. Importing and exporting data
Postman can import and export Postman data, including collections, environments, data dumps, and globals. Postman can also import non-Postman data in the form of API schemas to help you consolidate your API development workflow.
Exporting environments
You can export your environments from Postman by selecting the gear icon in the upper-right corner to open Manage Environments. Click the download symbol next to your environment to download your newly generated JSON file.
As of now as Environment could not be integrated with Bitbucket directly. We need to export and upload it to the Bitbucket repo to keep track of the changes done.
Here is the link to get more details on the postman.
Thanks!
